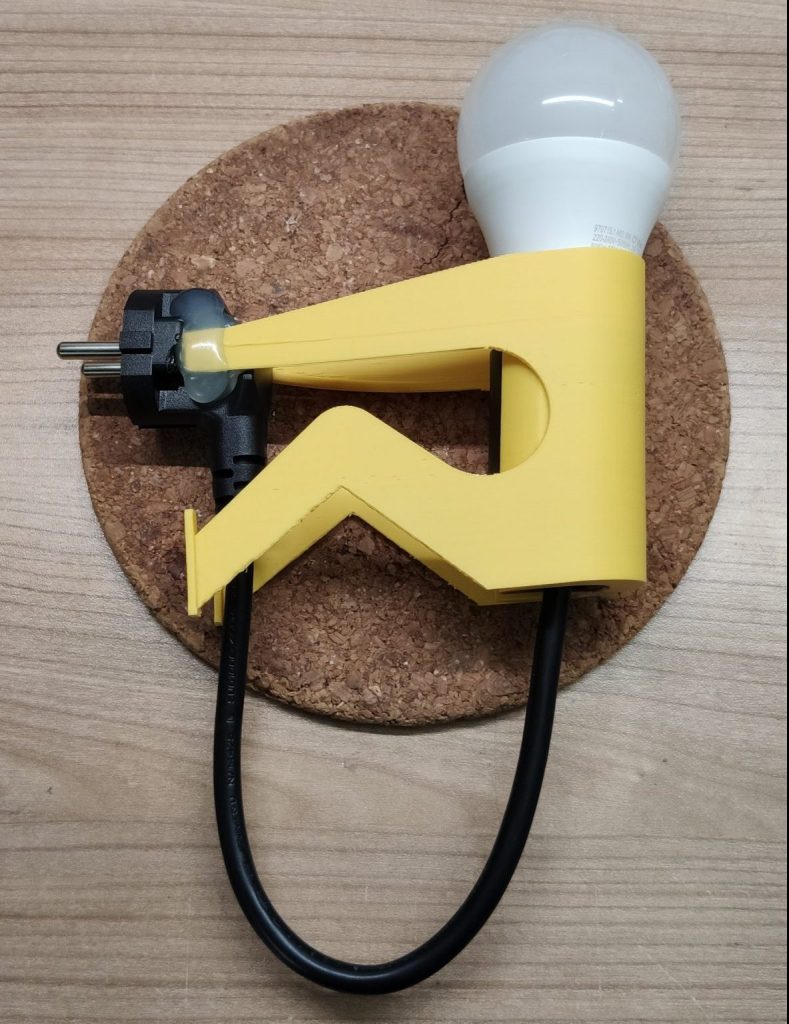
As I bought my 3D printer I started searching cool stuff to print on Thingiverse. I found this cool night light with an LED bulb in it. My first idea was to use a smart bulb instead and integrate it into my smart home. So this article is about the build of this DIY night light and the traps I stepped into as start working on this alleged easy project 🙄.
Parts list
For this project we will use the following components
- The 3D printed light body
- An E27 socket
- A power supply cable
- A smart bulb
- Two wire ferrules
- Some hot glue
*Some links are affiliate links. If you use them to buy the parts for your project you will help me and my next project.
These links will cause no extra fee or costs to you.

Traps I ran into
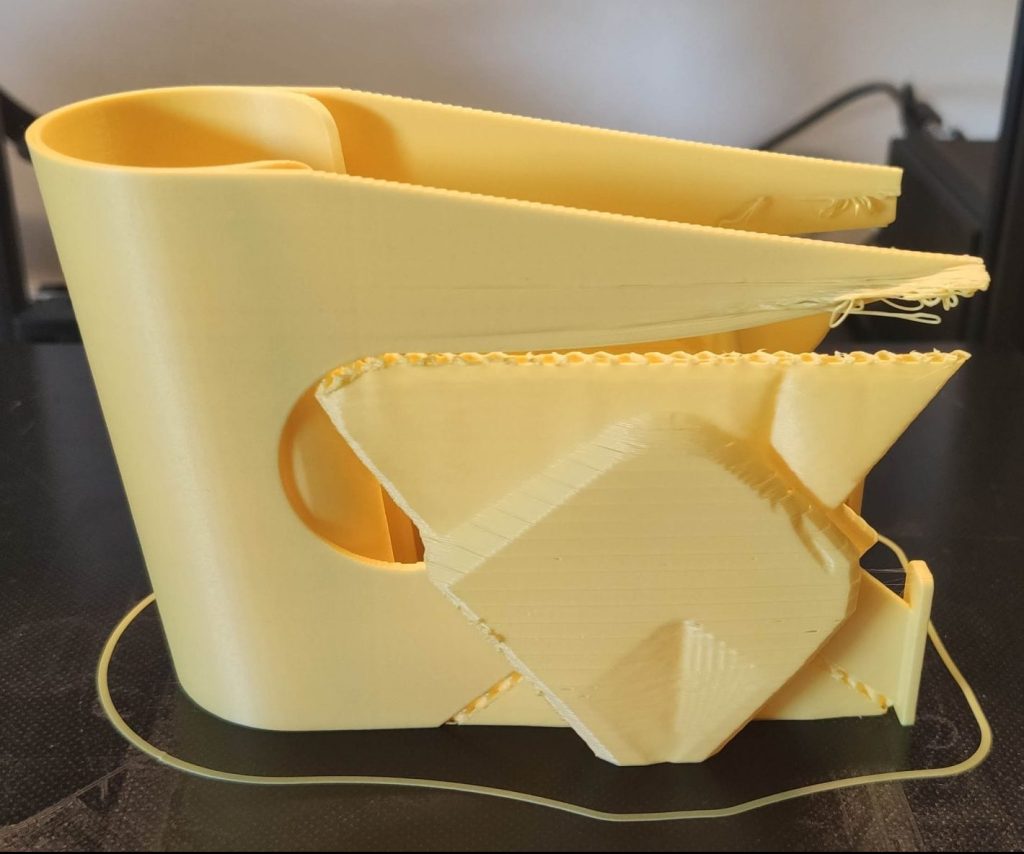
So simple the 3D printed light body looks like, so tricky it is to print. My first print went quite well until it reached the arms. One of my supports got loose which ends up in a slightly deformed print. My second print got problems on the feet’s. Because the touch points to the bed are so small your print needs a really good adhesion to the bed. Otherwise it simply pops of if it starts to print the 45° angle of the leg. This happen to me several times until I got the settings for a successful print.
Print settings
The following settings worked for me. You might experience other things, but if you have no clue where to start, try these:
- Layer hight: 0.2mm – 0.28mm
- Support type: tree
- Build adhesion: brim or raft
Build this boy
Start with cutting the power cord to about 30cm including the plug and strip of the black layer of isolation. You should, at least in Germany, end up with 3 cables. Life (black/brown), neutral (blue) and earth (yellow).
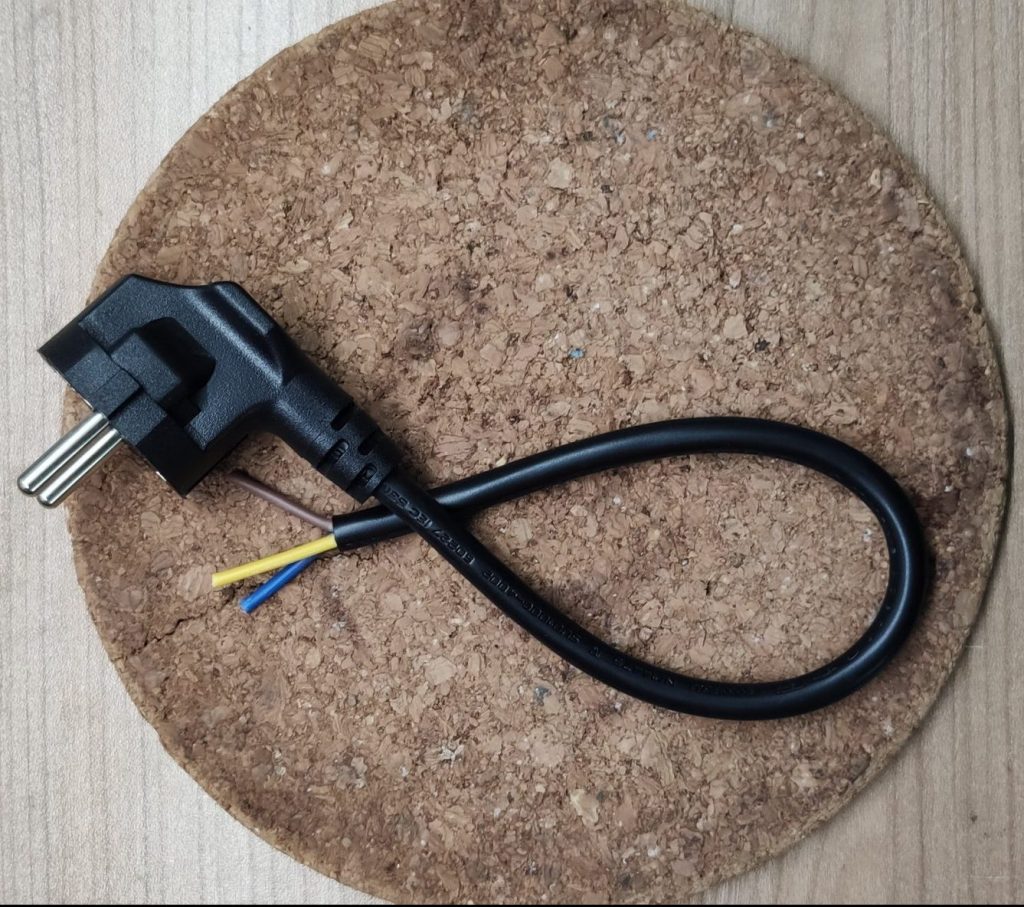
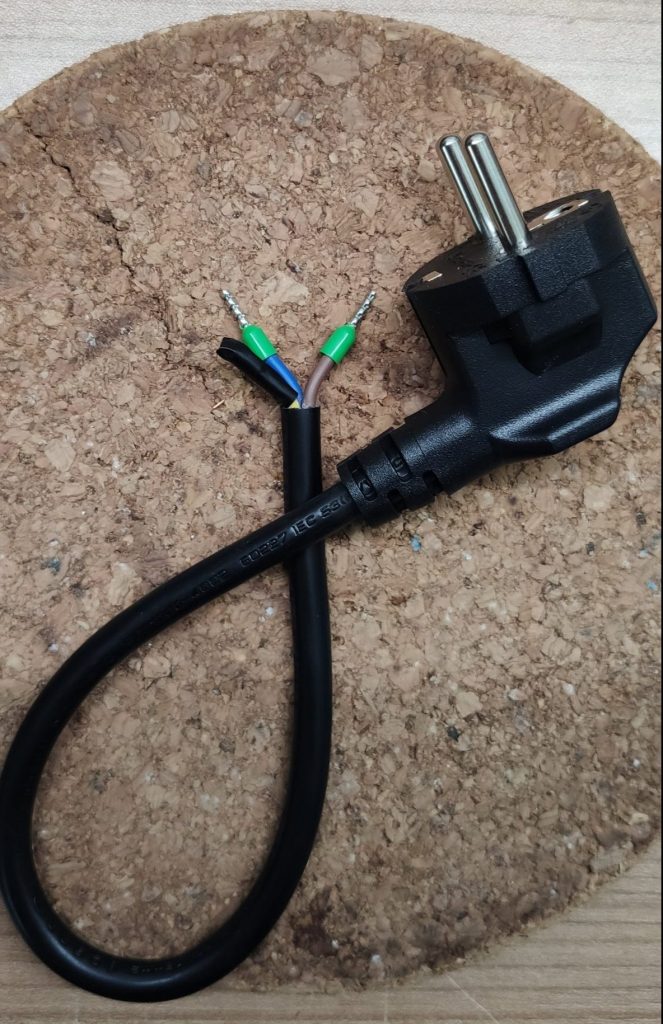
For the E27 socket we only need life and neutral, so remove the isolation of these and add ferrules to make the connection to the socket easier. Protect the yellow cable with some electrical tape.
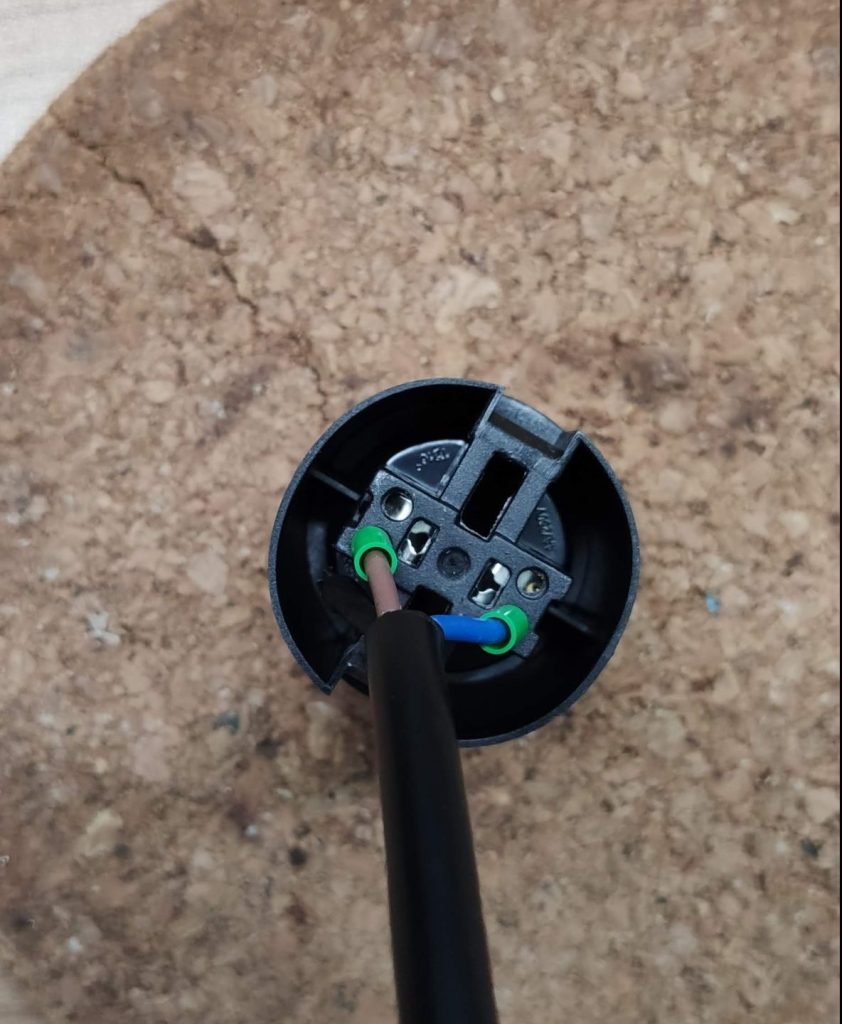
Next, connect the cable to the E27 socket. Slide the cable through socket and connnect the life and neutral wire to it. The direction of the cables doesn’t matter, cause we’re using AC. If the the cables are in place close the E27 socket.
You should end up with something that slides easy into the light body. Slide it into the light body from the top and arrange the cable that it fits into the arms/hands of the body.
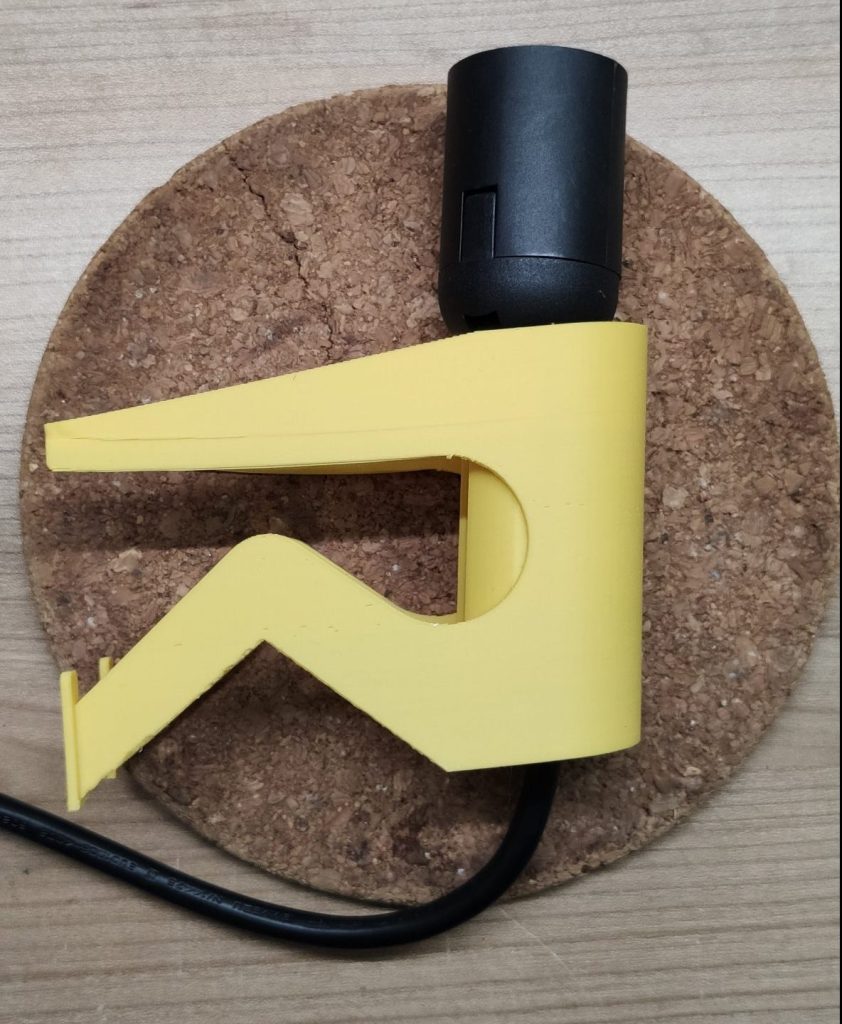
Use now some hot glue to hold the socket in place and also to glue the hands/arms of the body to plug.
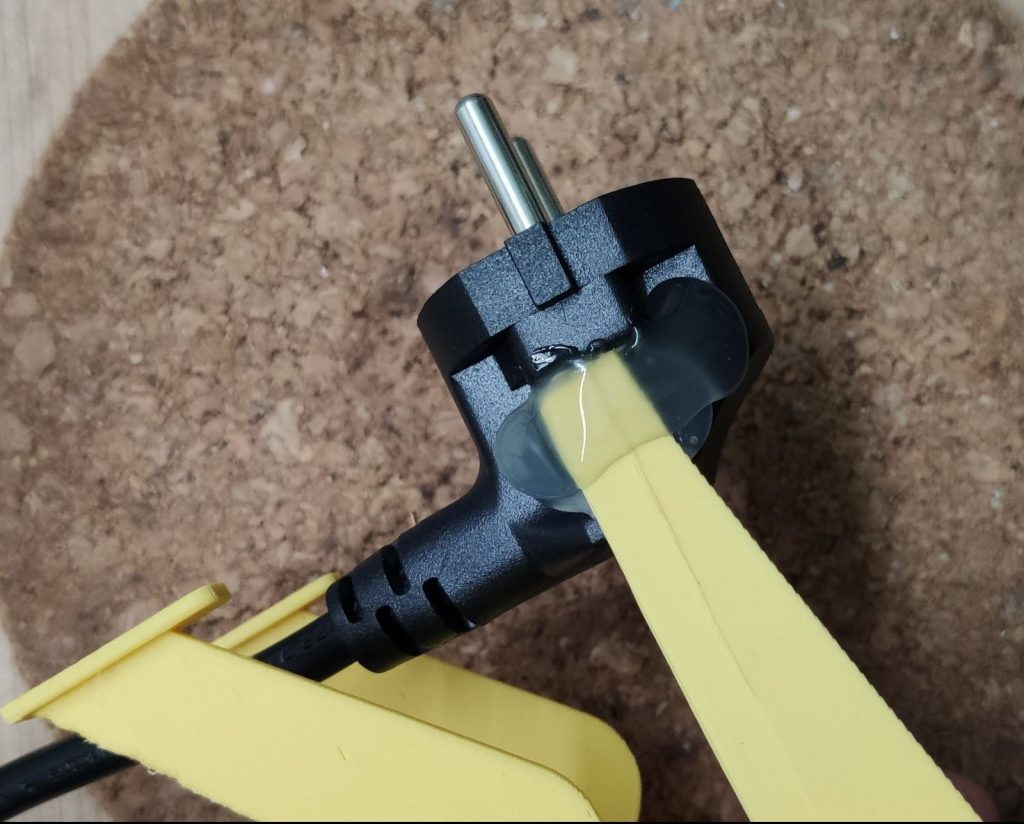
Last not least, screw in your smart LED bulb and plug the night light into a power socket. Depending on your selected bulb configure it the way you have to do it and you are done 🤓.
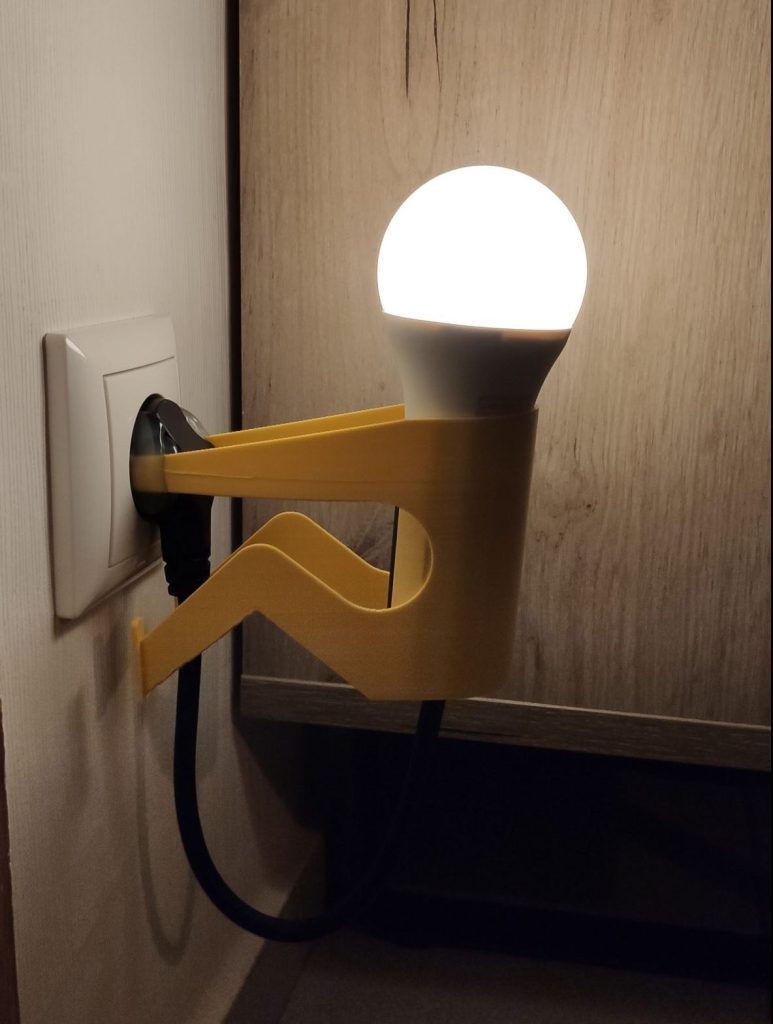
And that’s it! Besides from the 3D printing part, a very simple project that looks just amazing 😍. I hope you had at least so much fun as I during the build (excl. the failed prints of cause 🙄) and I would love to see some images of your DIY night lights 😊.


